Cabro Installation Process: Ground Preparation to Finishing
A cabro surface works as a system: blocks, joints, bedding, compacted base, ground, drainage and restrained edges. This sequence explains what each stage is intended to achieve.
By Premium Cabro · Published
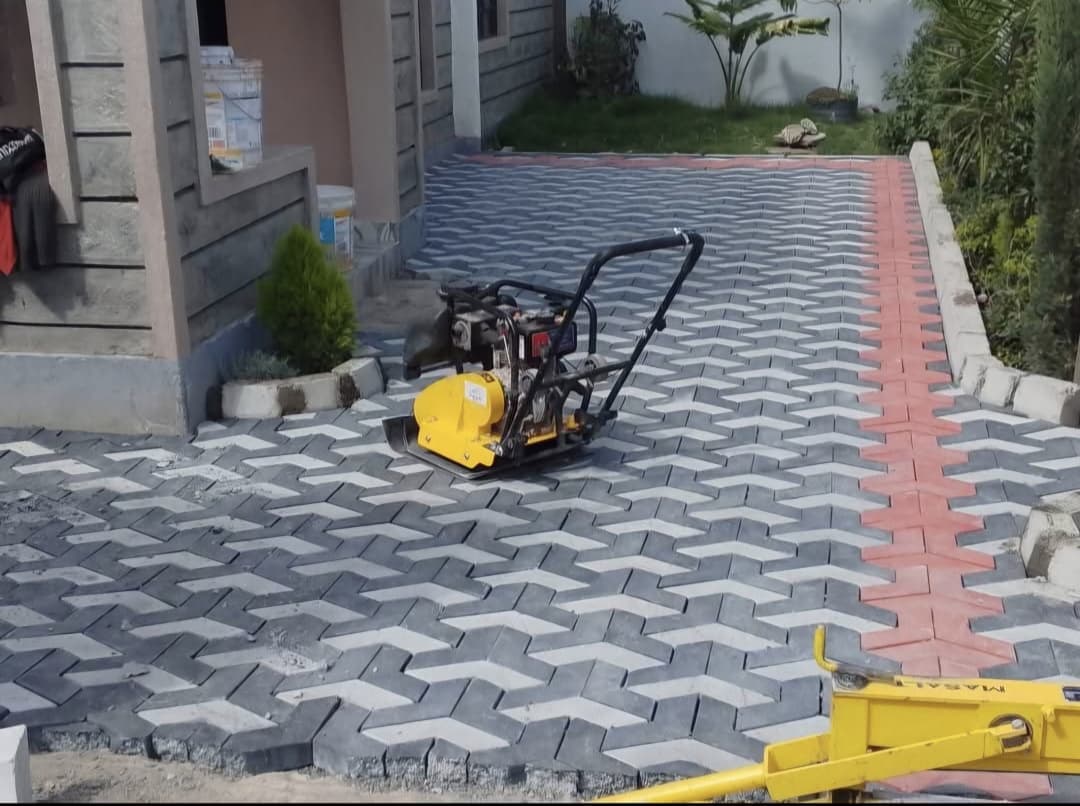
Eight stages of a cabro installation
1. Confirm use, area and site conditions
Measure the paving area, record the expected traffic, inspect access and identify existing levels, structures and drainage outlets.
2. Set levels and drainage
Plan the finished surface so water moves to a safe outlet and away from buildings. Coordinate channels, kerbs, culverts and inspection covers before base work is complete.
3. Excavate and prepare the formation
Remove unsuitable surface material to the depth required for the specified pavement layers. Soft spots or filled ground may need additional attention after assessment.
4. Place and compact the base
Build a consistent support layer suitable for the traffic. Compact the material evenly and maintain the planned levels rather than trying to correct them with bedding sand.
5. Install edge restraints
Kerbs or another suitable restraint hold the paving together at exposed edges and help prevent joints opening under vehicle movement.
6. Prepare the bedding layer
Spread and level the bedding material consistently without disturbing the compacted base or blocking planned drainage routes.
7. Lay, align and cut the cabro
Lay the selected pattern from controlled lines, keep joints consistent and make accurate cuts around boundaries, drains and fixed objects.
8. Fill joints, compact and inspect
Apply suitable jointing material, complete final compaction, top up joints and inspect levels, edges and drainage before handing over the surface.
What to include in an installation quotation request
Share a location pin, approximate square metres, expected traffic, photos of the current ground, preferred pattern or colour and any known drainage issues. A site assessment may still be needed before the final scope is confirmed.